Getting Started
Device Compatibility
01
Select a Data Plan
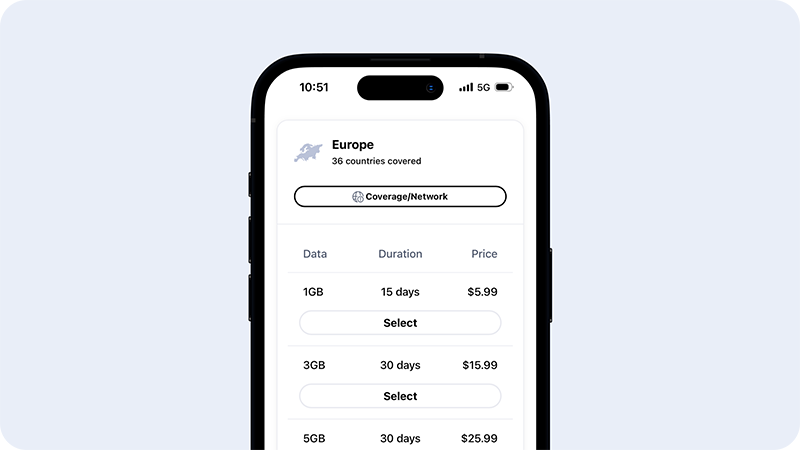
02
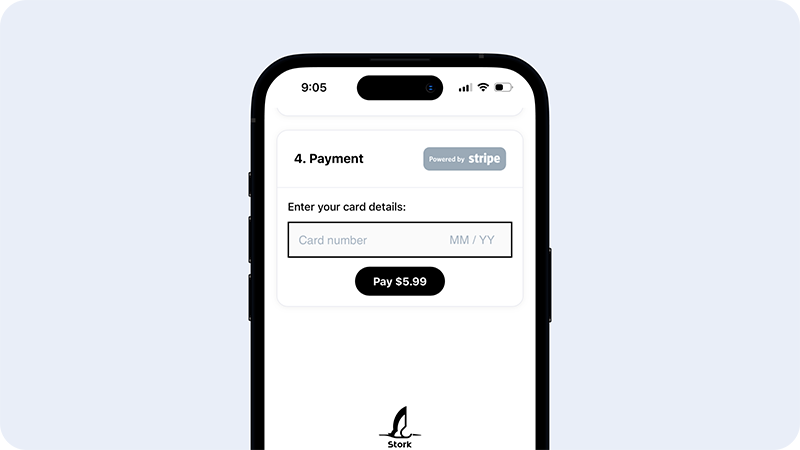
Pay with Card
We use an online payment service with the highest level of certified security. All major credit and debit cards can be accepted.
03
Install eSIM Profile
Once your data plan purchase is complete, you will receive a confirmation email with a QR code for your eSIM profile installation. Simply scan the QR code and add the Cellular Plan to your phone.

04
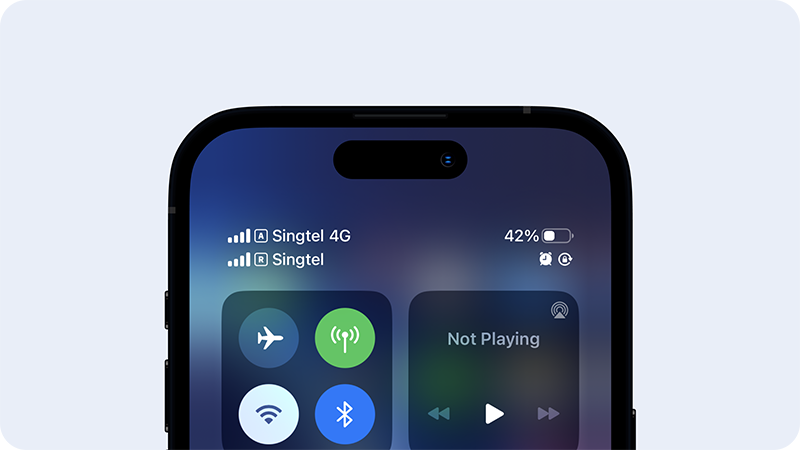
You're Online!
At this point, your eSIM is ready to connect. Make sure you set Stork Mobile eSIM for Cellular Data, and turn your Data Roaming on.
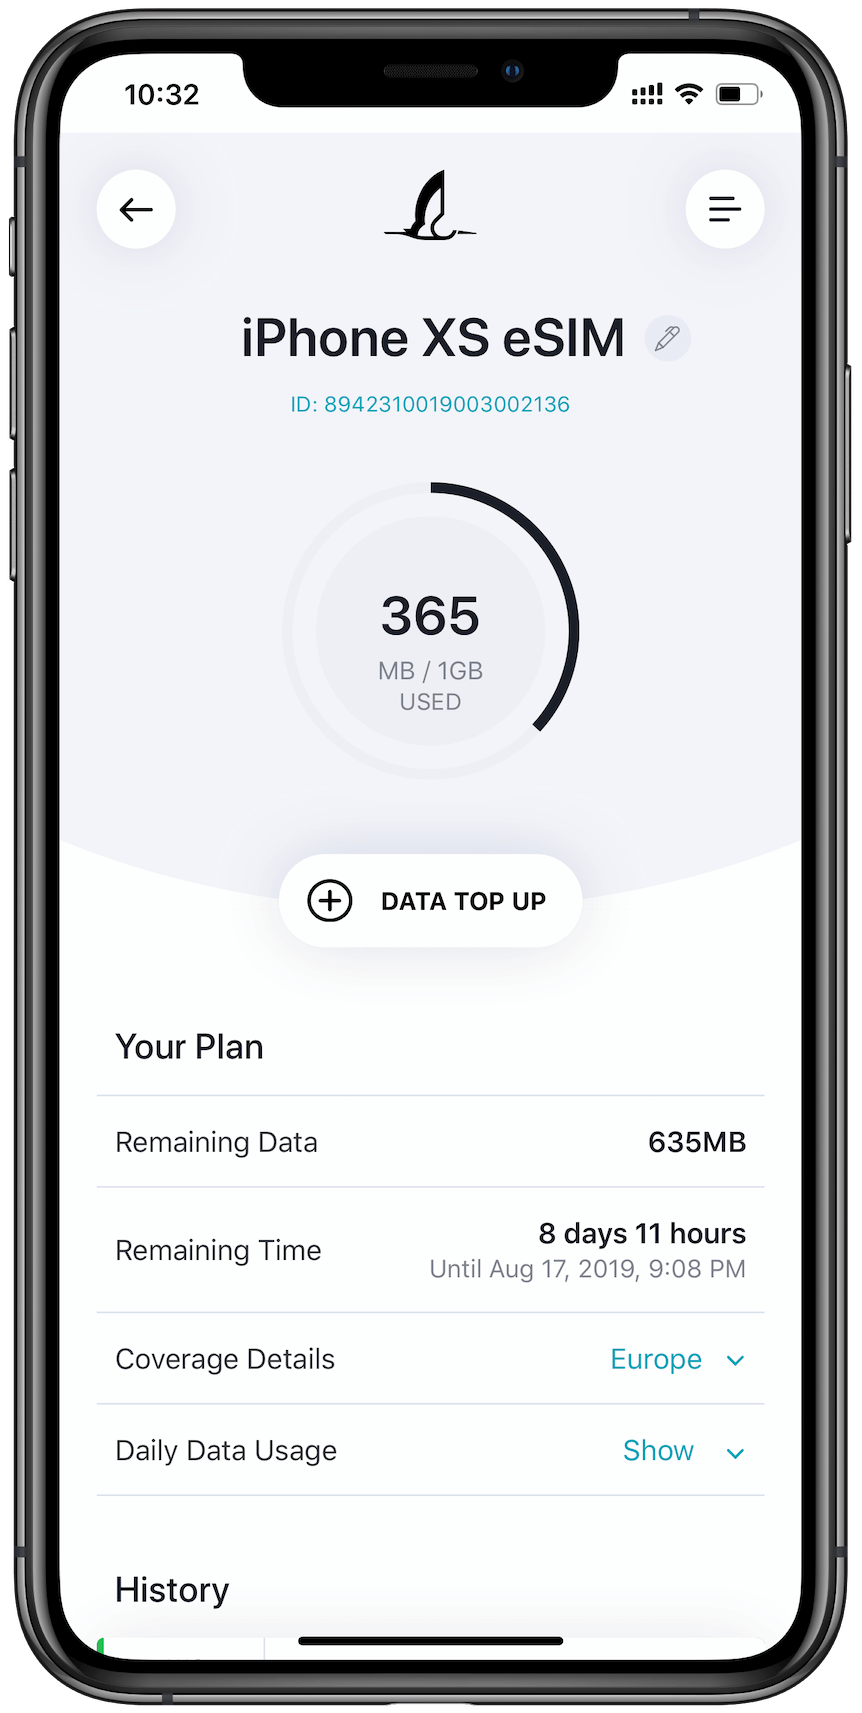
Control Your eSIM With Our App
Check Your Data Balance
Check your eSIM status and how much data you've used at anytime.
Data Recharge
When you need it, add more data on your eSIM on the go.
Manage Multiple eSIM
You can register as many eSIM as you want to your account and manage them in one app.
Use Exactly Like a Mobile App
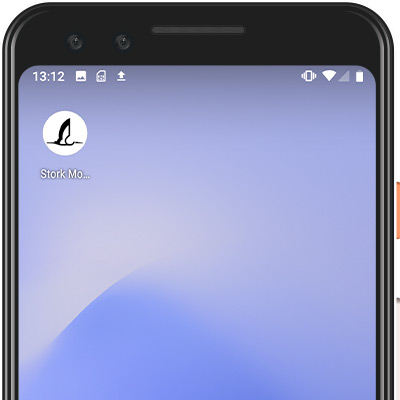
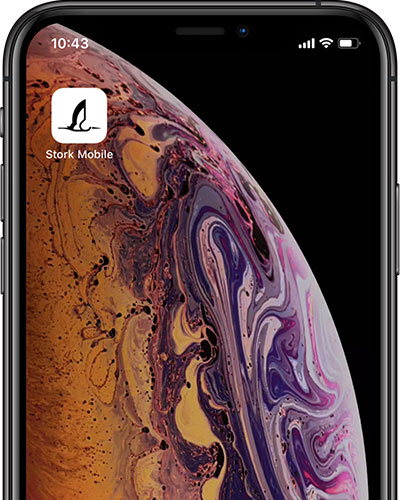
Our Progressive Web App allows you to add to your mobile device's home screen and works like a native mobile app. Highly recommended for easy access when traveling.
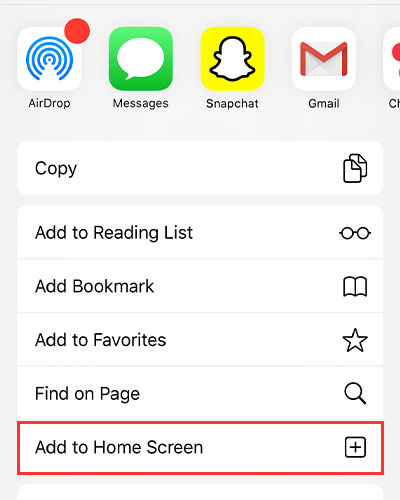
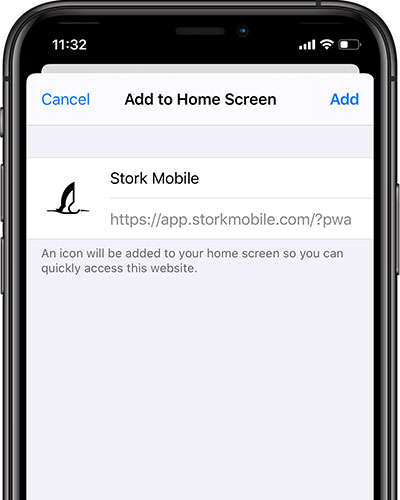
Visit Stork Mobile App from Safari browser and tap the Share button at the bottom, scroll left to tap Add to Home Screen option. You can do this on any page of our app, before and after the login.
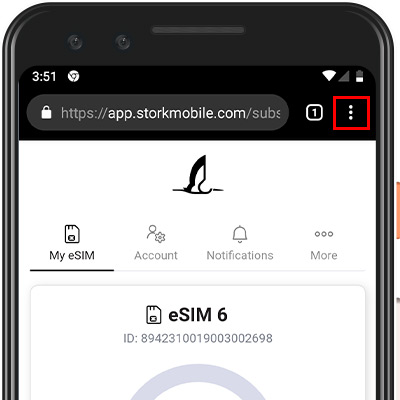
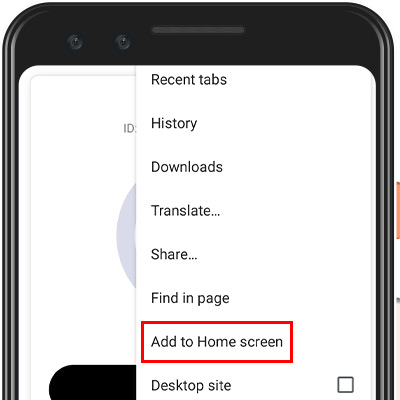
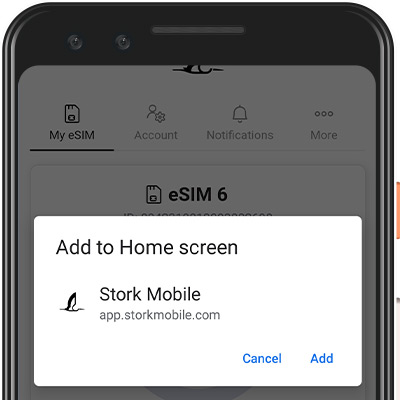
Visit Stork Mobile App from Chrome browser and open Menu from the top right on the screen. Tap Add to Home screen option in the menu, and tap Add again for confirmation. You can do this on any page of our app, before and after the login. (If you happen to see the Add to Home screen info bar at the bottom of the page, simply tap Add.)