SET UP GUIDE FOR iOS
How To Install Stork Mobile eSIM
The set-up process for iPhone running iOS 17.4 or above. The actual text or screen display may vary depending on the iOS version and the phone model.
iPhone running iOS 17.3 or belowiPad01
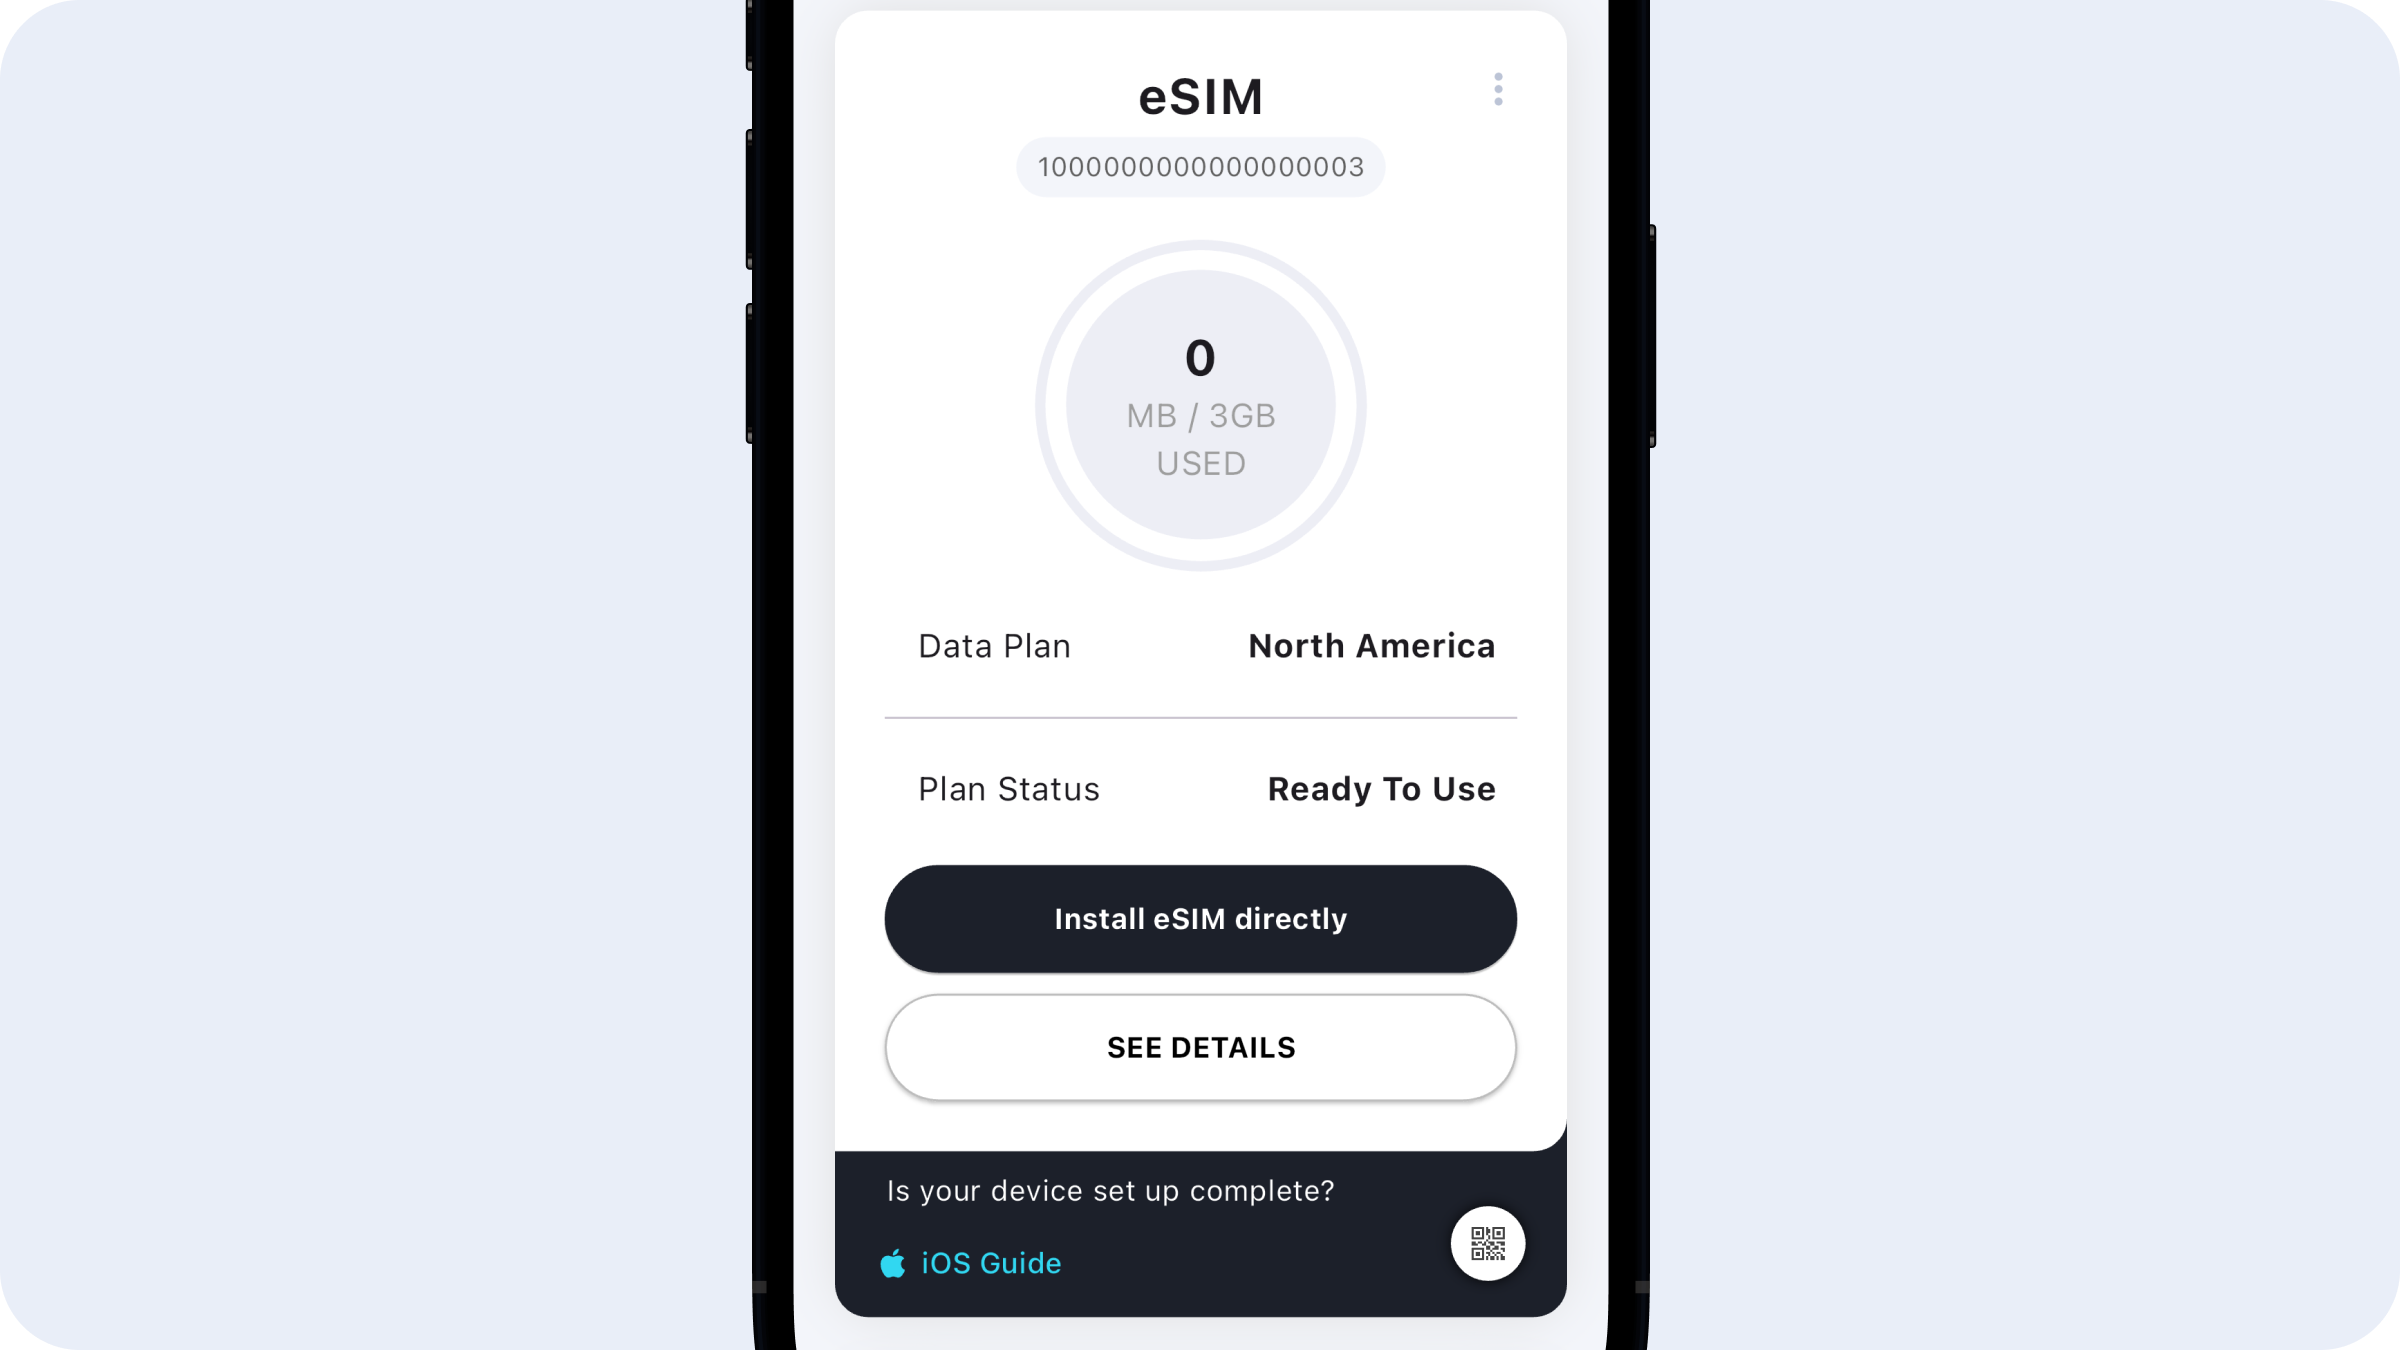
Start installation directly from the app
After purchasing your eSIM via the web or iOS app, start the activation directly from the app screen.
* Internet connection required
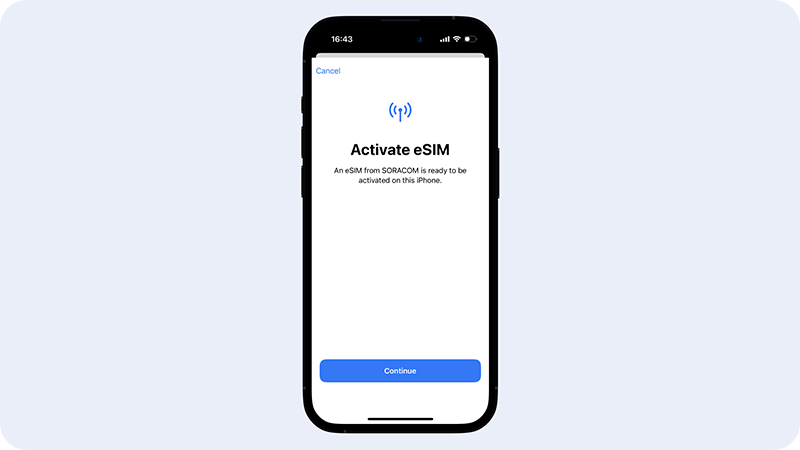
02
Activate eSIM
Tap “Continue” to complete the activation. (At this point, you cannot cancel or reuse the QR code.)
If Cellular Setup Complete appears on the screen, the eSIM has been installed successful.
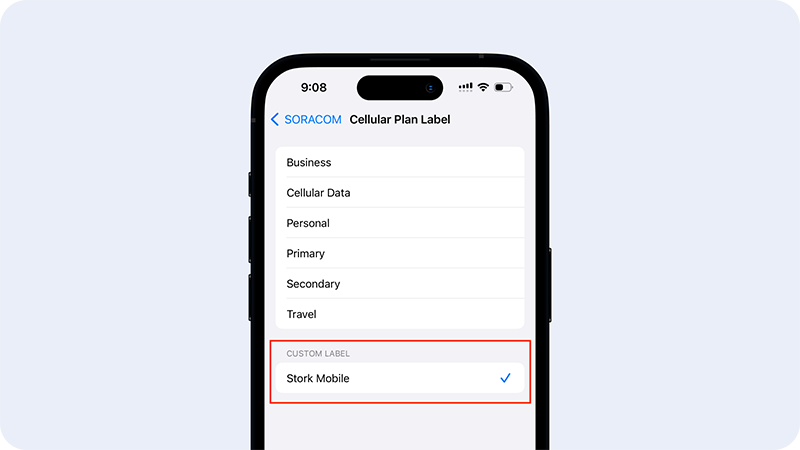
Optional
Update Cellular Plan Label
For easy identification, label the installed eSIM / Cellular Plan as “Stork Mobile” under the CUSTOM LABEL section. (It will be labeled as “Cellular Data” by default.)
How To Use Stork Mobile eSIM For Mobile Data
Follow these steps after you arrive at your travel destination.
iPad01
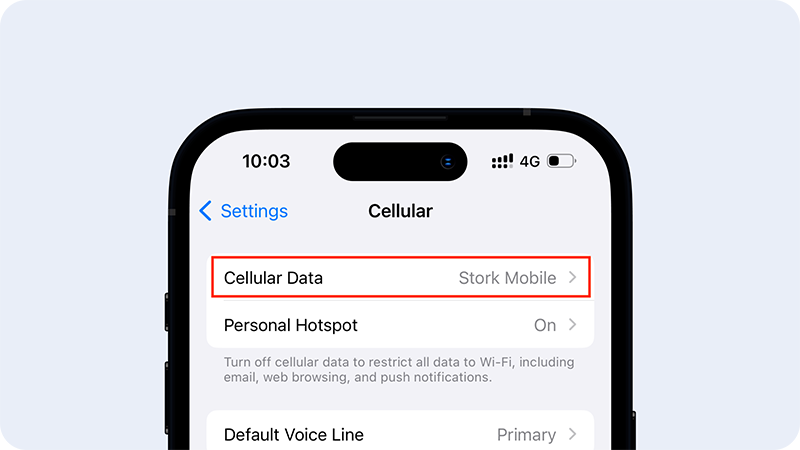
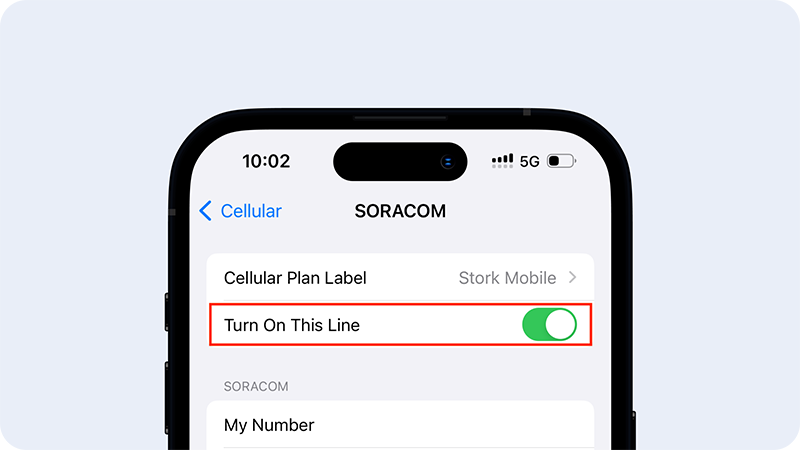
Turn on Stork Mobile eSIM (Cellular Plan)
Go to Settings > Cellular or Mobile Data and make sure Stork Mobile eSIM is turned on.
02
Set it for Cellular Data
Select Stork Mobile eSIM for Cellular Data.