SET UP GUIDE FOR iPad
How To Install Stork Mobile eSIM
The instruction below is for iPad (7th generation WiFi+Cellular model) running iPadOS 13. The actual texts or screen might be different depending on the OS version and the device.
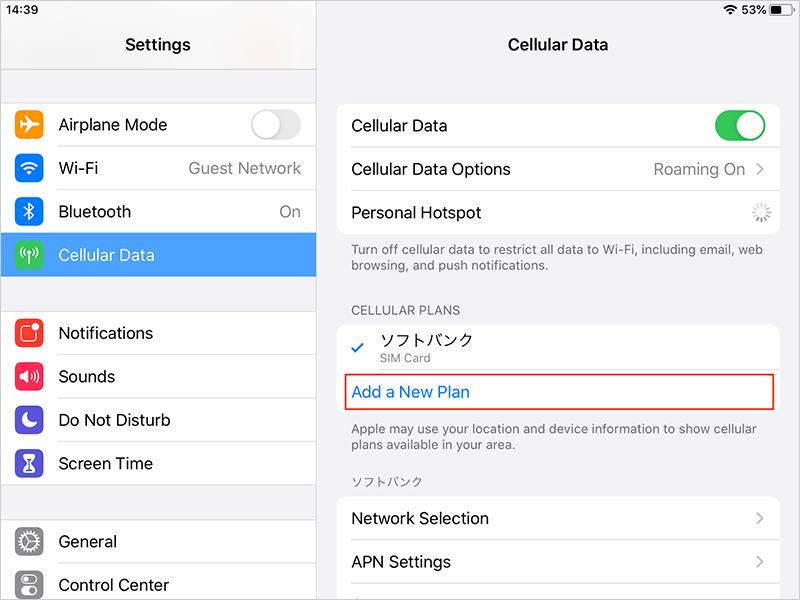
01
Tap Cellular Data > Add a New Plan from Settings
Make sure your device is connected to a stable WiFi network.
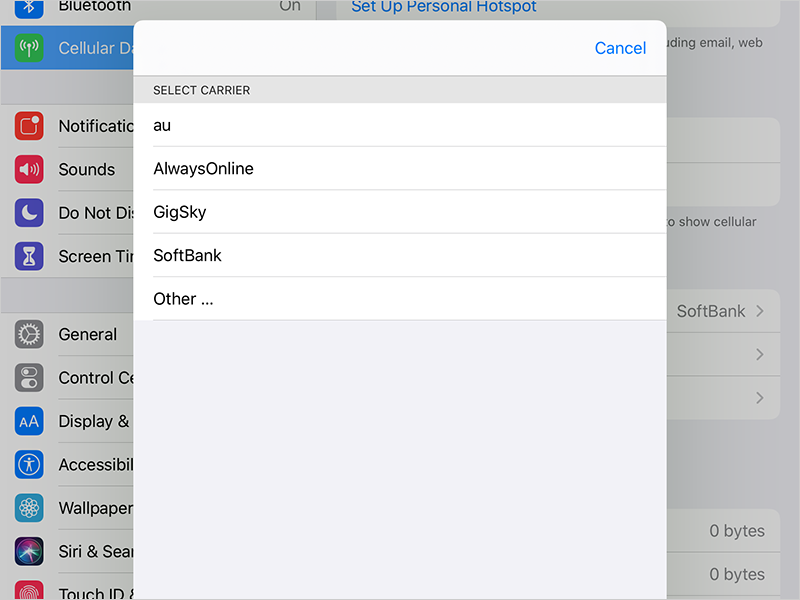
02
Select “Other …” at the bottom of the carrier list
03
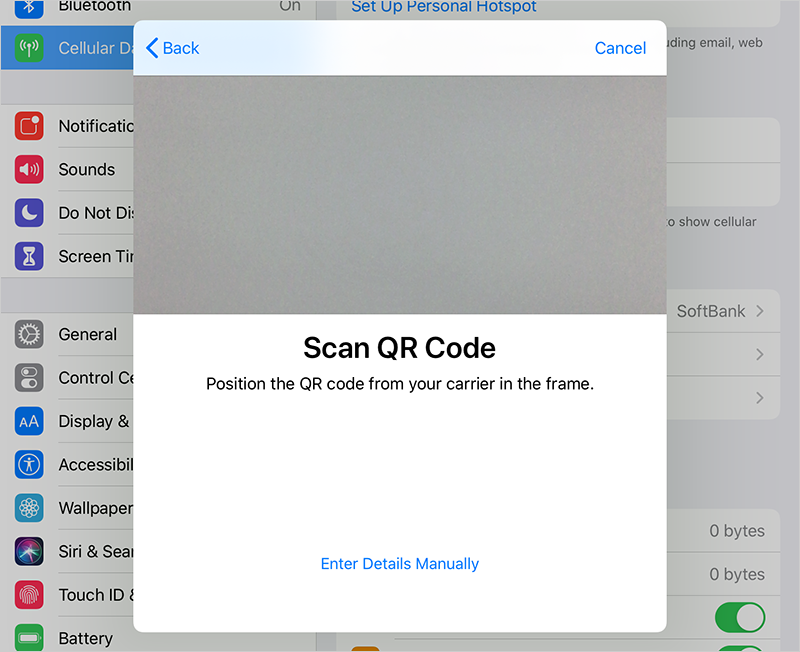
Scan QR code we provide
* Internet connection required
In case you have only one device and cannot scan the QR code, enter the activation code and SM-DP+ address manually.
They are provided along with the QR code via email.
04
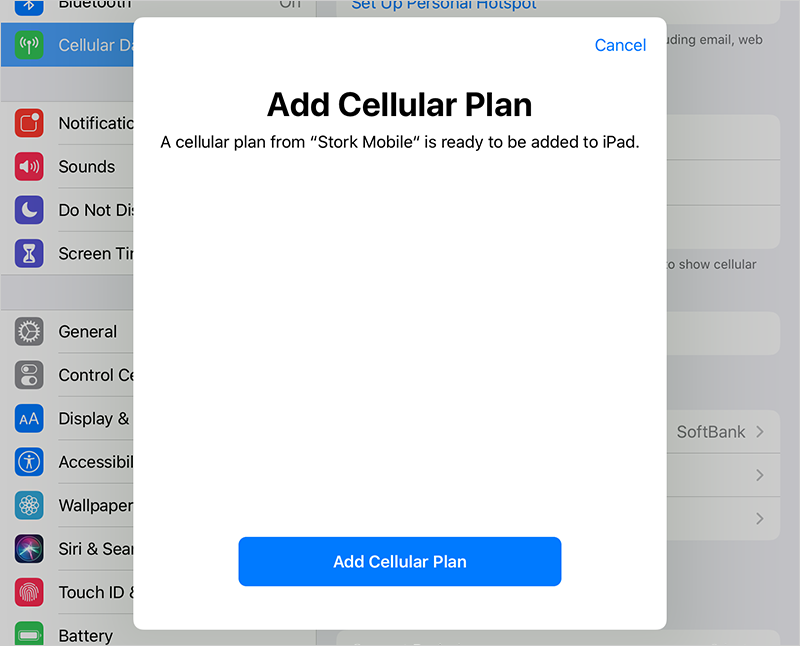
Tap Add Cellular Plan
Note that you cannot go back or cancel after you tap it.
05
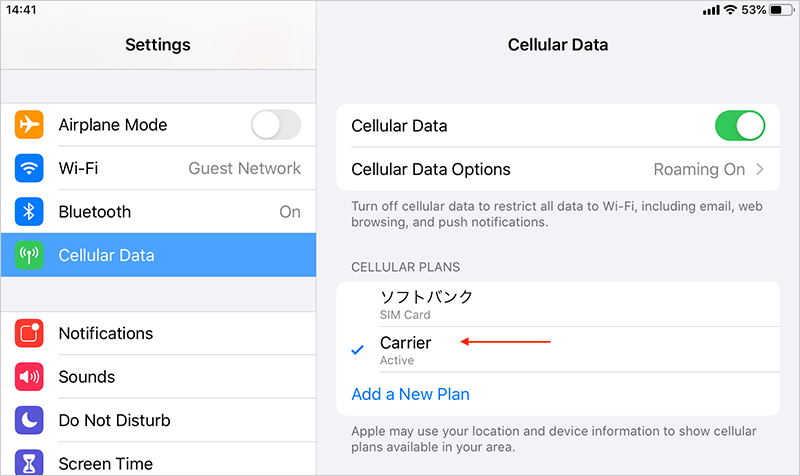
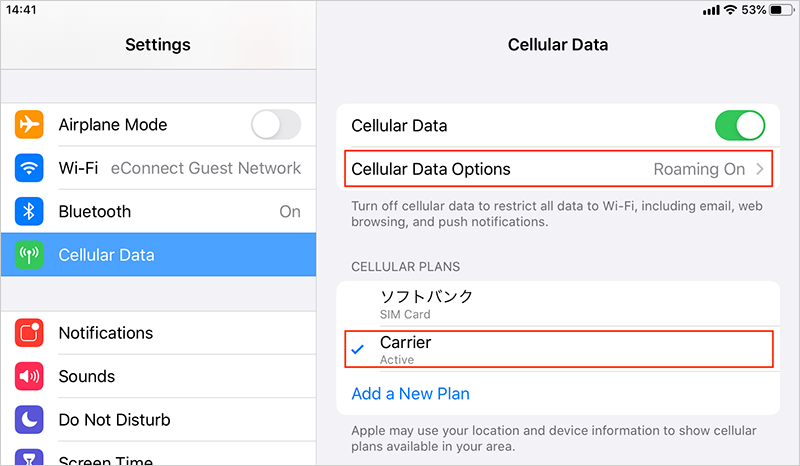
Make sure it’s added to Cellular Plans
Some iPadOS versions force to change the plan name from Stork Mobile to Carrier or Carrier-Carrier but it does not affect the eSIM functions.
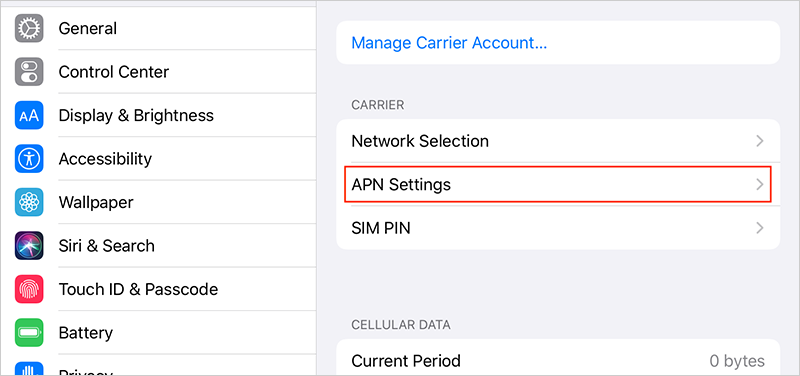
06
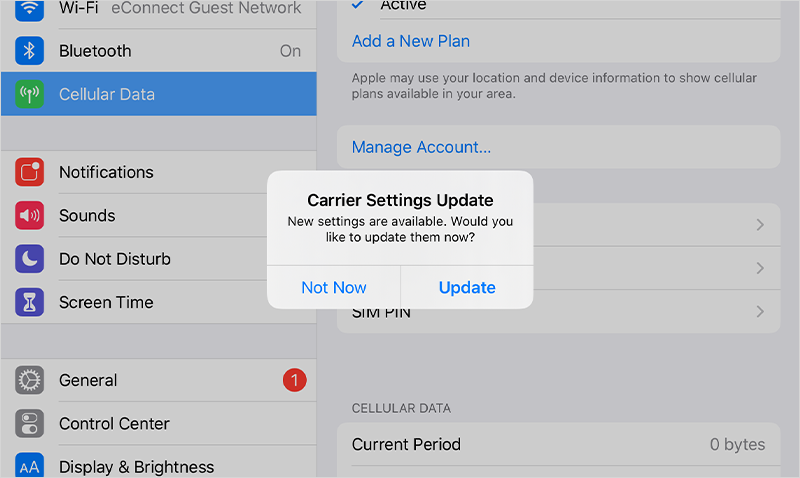
Tap Update on Carrier Settings Update
APN (Access Point Name), which is required for Personal Hotspot, will be configured automatically by doing this step.
How To Use Stork Mobile eSIM For Mobile Data
Follow these steps after you arrive at your travel destination.
Make sure Roaming is turned on. Select and activate the Stork Mobile eSIM under Cellular Plans.
OPTIONAL
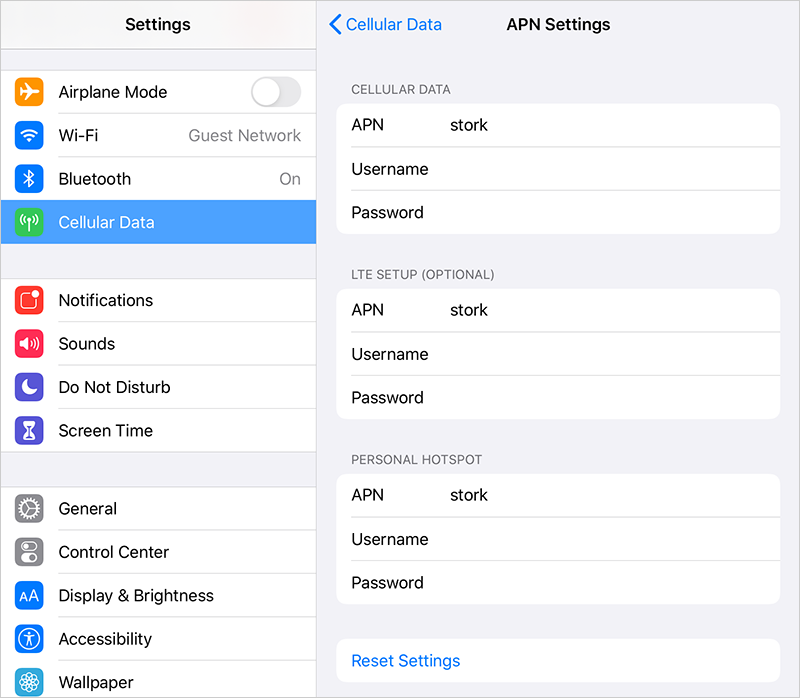
For Personal Hotspot, set up APN (Access Point Name)
In case you did not update the Carrier Settings (Step 06 above) and want to use Personal Hotspot feature, tap Cellular Data Network and enter “stork” in all 4 APN fields (Cellular Data, LTE setup, MMS and Personal Hotspot)